
Using Gradient Strokes in Illustrator
If I had to vote on my favorite new feature in Illustrator CS6, it would have to be the addition of gradient strokes. Gradient strokes in Illustrator Cs6 allows you to quickly add dimension to your work. Creating thin, rounded cylindrical objects and fine details is a breeze now with this new feature. Before, you would have to create a compound path and use a radial gradient to get the same effect. You might have also tried to use the mesh Tool as well, which is another awesome feature, but not for fine details. It is meant more for larger areas of color.
How Gradient Stroke Works
This is cool, and you will love this! It is really easy, but you have to know where to look. First, draw the shape of your choice. I am creating a spoke wheel, so we will start with 3 circles: an outer circle, and middle circle, and one that might be detailing for the middle hub.

You can make the stroke as large or small as you wish. I am leaving the fill off for now, so that we can focus on how the gradient stroke feature works. You might think that because we are applying a gradient to the stroke, that we would find the options to handle the gradient stroke feature within the Stroke Panel. However, that isn’t where we actually decide how the gradient will be applied across the stroke. You will find the options under the Gradient Panel.
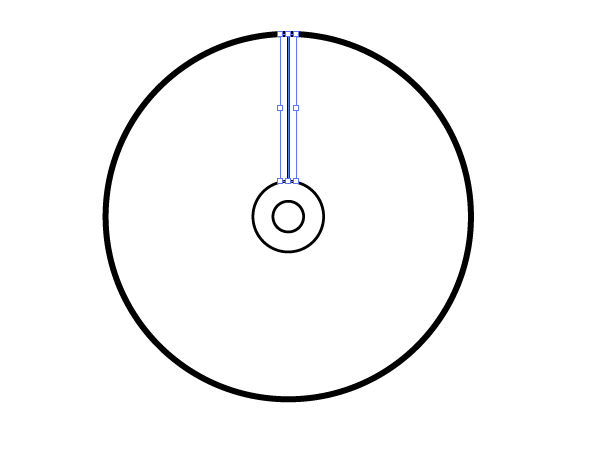
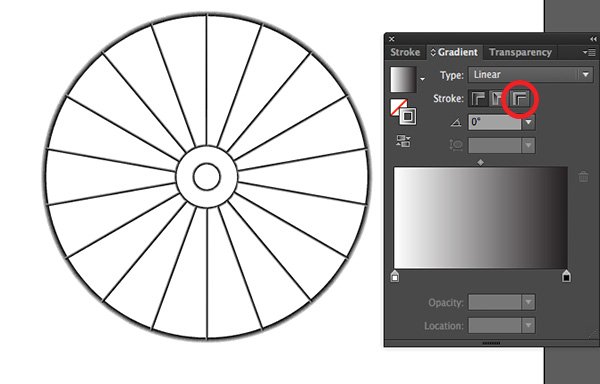
Let’s add spokes to our wheel first. Create a vertical stroke from the top center of the outer circle to the top of the larger middle circle. Then, select the Rotate Tool and with the line still selected, option/alt-click the center part of the entire wheel. A dialog box will come up asking you to input an amount in degrees. Choose an amount that will go into 360 evenly, such as 20, 30, 60, etc., and click Copy. It will make a copy of your line and rotate it x-amount of degrees around the center point that you specified. Hit Command/Ctrl + D to duplicate the last action and repeat the process until your spokes go all the way around the wheel evenly.

Right now our stroke is black, but now you can go to the Gradient Panel and select linear as your gradient type. You’ll see the gradient applied to the entire group of strokes separately. If you go to the second stroke option, it will wrap the gradient around the stroke length-wise. We want it to go across the stroke horizontally, so click the third option, and your lines will now look like tubes.
Adjusting the gradient determines the highlights and shadows of your objects. This will save you a ton of time when creating objects like this, but for the most realism, you shouldn’t just apply the gradients the same globally across the entire object. You will want to select each stroke and change each gradient individually in order to adjust the highlights and shadows properly. Just move the sliders to adjust the gradient in the Gradient Panel. You can click anywhere that there isn’t an adjustment point to add a new one. This is excellent for creating metallic-looking objects.
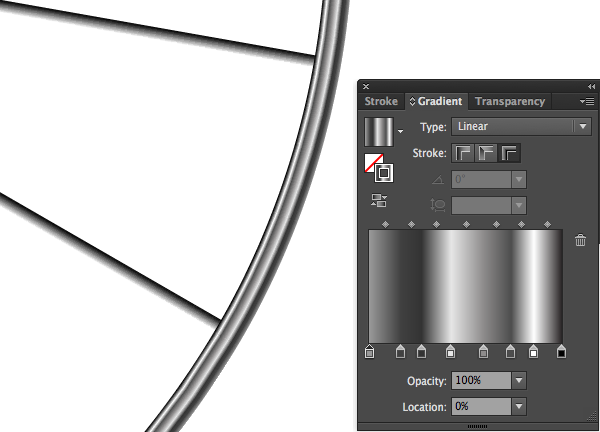
After a little tweaking and changing things around for each spoke, it is easy to see why so many people like this new feature. I did in minutes what used to take hours. Another little hand tip for using this technique is that right under the fill and stroke in the Gradient Panel, is an option to reverse the gradient, so if you want to keep roughly the same gradient, but want it to go the opposite way, click this icon instead of rearranging all of the points.
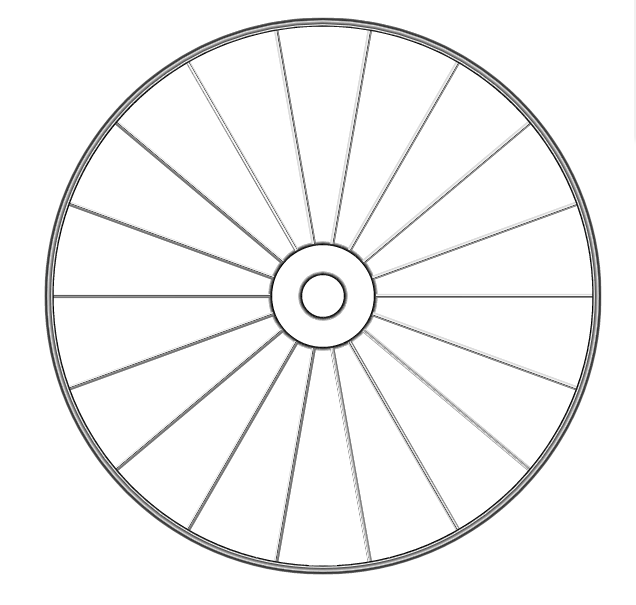
You can add gradients to the fill just as you always have, even though you have applied a gradient to the stroke. Select the larger middle circle and select the fill and apply a radial gradient to your fill. You can add points and adjust the gradient as always. When you are finished, you will have a nice looking rim with metallic spokes.
Conclusion
The gradient strokes feature is an excellent addition to the Adobe Illustrator. This is one feature that has been requested for a long time. Now, you can apply gradients to strokes, making it much easier to create refined details and easily simulate metal and the reflections of light and color that are applied to them. Combine this feature with layers, blend modes and other effects and you can create more realistic illustrations quickly and easily.
What do you think about gradient strokes in Illustrator? Do you use this feature often? Share your thoughts in the comments section below.

