Brighten Eyes in a Portrait
Many times you will have a good photo, but something is missing. You will look at it and look at it trying to decide what is missing. Then, you realize that your subject’s eyes are dull and too dark. It isn’t difficult to brighten eyes in a portrait using Photoshop, and today, I will show you how.
Brighten Eyes in a Portrait – Step 1 Setting Things Up
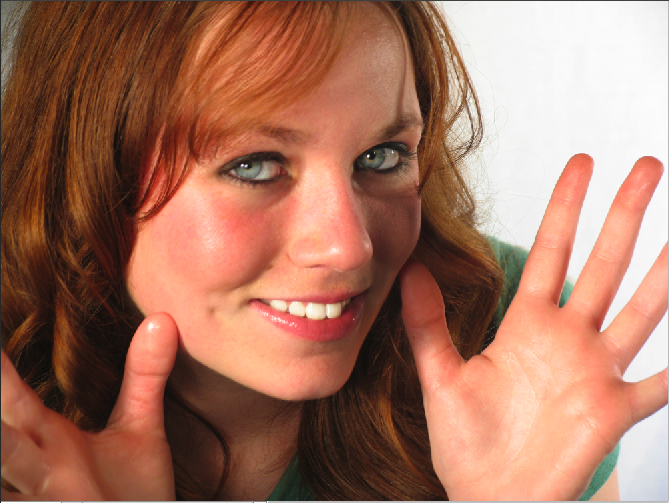
If you want to use the same image as in the tutorial, you can download it here. Open up your image in Photoshop, and hit command and the J key to duplicate your image layer. The model’s eyes are a little dark, but you can lighten them in using the dodge tool and a couple of settings to lighten her eyes without ruining the tones. You can also slightly brighten things like teeth and you can lighten skin tones as well, if there is a bad shadow on someone’s face. Make sure that protect tones is checked, so that you do not drastically alter the tones of your image.
![]()
Brighten Eyes in a Portrait – Step 2 Lighten Midtones
On the top layer, grab the dodge tool, and make sure that it is set to midtones, and hover over the color portion of the eye. Size your brush using the [ or ] keys to make the brush roughly the same size as the eye. You do not want to lighten her lashes or eyelids, as this will be a dead giveaway to the fact that the image was enhanced. They key is to perform subtle enhancements that are beautiful, but appear to be natural as well. Click a couple of times, until you lighten the midtone areas to taste. The farther eye, to the right, is darker, and needs more lightening, so we will have to click 1-2 more times to even it out with the left eye.

Brighten Eyes in a Portrait – Step 3 Hit The Highlights
Then, switch the menu to highlights, and lighten the eyes and make them brighter. This will make the eyes pop, but will still look natural. This is a simple enhancement, but will make your image look much more appealing.
Brighten Eyes in a Portrait – Step 4 Enhance Color
Next, select the Sponge Tool. It is directly under the Dodge and Burn tools in the Tool Bar. Select Saturate as the mode, check the Vibrance Option so that it is active, and set the flow to 50%. We want to enhance the color, but we want to do so in a subtle manner. Using the same method we used with the Dodge Tool, size the brush to match the pupil of your subject’s eyes, and click to increase vibrance, making the eyes slightly more vibrant and lively.
![]()

Conclusion
it doesn’t take much to turn your photos from good to great. Something as simple as making sure that the eyes are nice and bright can have a dramatic affect over how the overall image is perceived. Bright and colorful gets much more attention than dull and drab.
Did you try this out on your photos? How did it turn out? Feel free to share you experiences in the comments section below.

