Multiple Strokes in Photoshop
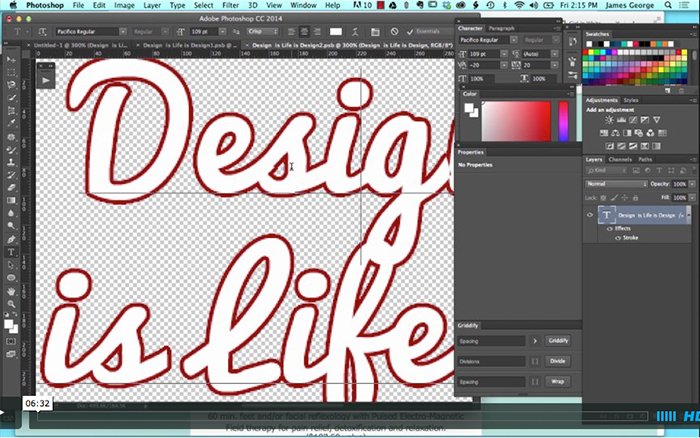
We all know that if you want to add multiple strokes to text or an object in Illustrator, you can do so easily by using the Appearance Panel. What do you do if you’re working in Photoshop? How can you add multiple strokes to an object or text in Photoshop and keep it editable? In my video tutorial, I’ll show you how to create multiple strokes in Photoshop. Your text will stay 100% editable, and so will the strokes, too!
The key to this trick is the fact that in the latest versions of Photoshop, you can nest Smart objects inside of another Smart Object. This meas that you can apply stroke after stroke, with each one continuing outward from the next one. This means that every time you create a new smart object from your applied layer styles, you preserve them, keeping them completely editable. If you ever have to edit the original text, like we did in the video, you simply double-click the smart object icon for each instance until you get to the original text layer. When you make changes, it automatically updates your Photoshop file.
How did your effect turn out? Were you able to successfully create multiple strokes in Photoshop? Keeping things editable for later can save you a lot of time and frustration later. I don’t know about you, but I hate, absolutely hate doing work over again. I’ll grumble over it for the whole day. Any time you can use Smart Objects in your work, I would recommend doing so. This is especially true when using filters, because they are converted to Smart Filters. Imagine using filters that are always editable and never permanent! Do you have any tips for using Smart Objects and adding multiple strokes in Photoshop? If so, feel free to add them in the comments below.

