Text Wrap In Adobe Illustrator
In graphic design there are a lot of techniques that have been used for decades. Common techniques at your expect to find a lot of designs range anything from drop caps to text wrap effects. If you want to create text wrap in Adobe Illustrator, they have a feature built right in just for that. However, it may be a little confusing how to use this feature. In this tutorial video, I’ll show you how to use text wrap in Adobe Illustrator to force text to flow around objects.
Text wrap is a technique where an object, an image, or even other text causes a paragraph to shift around that object. Text wrap adds a little space around the object so that the text flows around it and it can easily be read. In the example from the video, I have three paragraphs. Each paragraph has a large bold number to help differentiate each one. The paragraph of text is supposed to wrap around, or follow the contour of the overall shape of the object. Since the bounding box is rectangular, the text wrap effect is also rectangular.
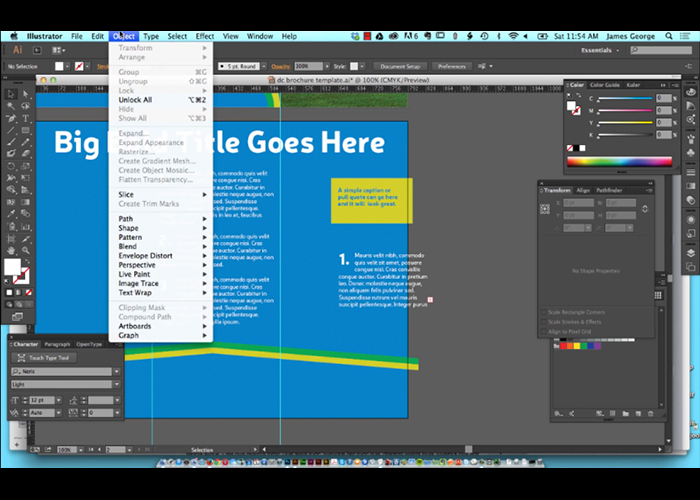
Text wrap will only work if the object is above the paragraph of text. Otherwise, when you select both items, it will make the object disappear until you move the paragraph behind it. I demonstrate this in the tutorial video shown above.
Were you able to create text wrap in Adobe Illustrator? This is a fundamental technique for all graphic designers. Since many graphic designers use Adobe Illustrator to create their documents, and forgo the use of InDesign, it is essential to know how to use text wrapped in Adobe Illustrator. If you have any questions about this technique, or anything else about Adobe Illustrator feel free to leave them in the comments section below.

